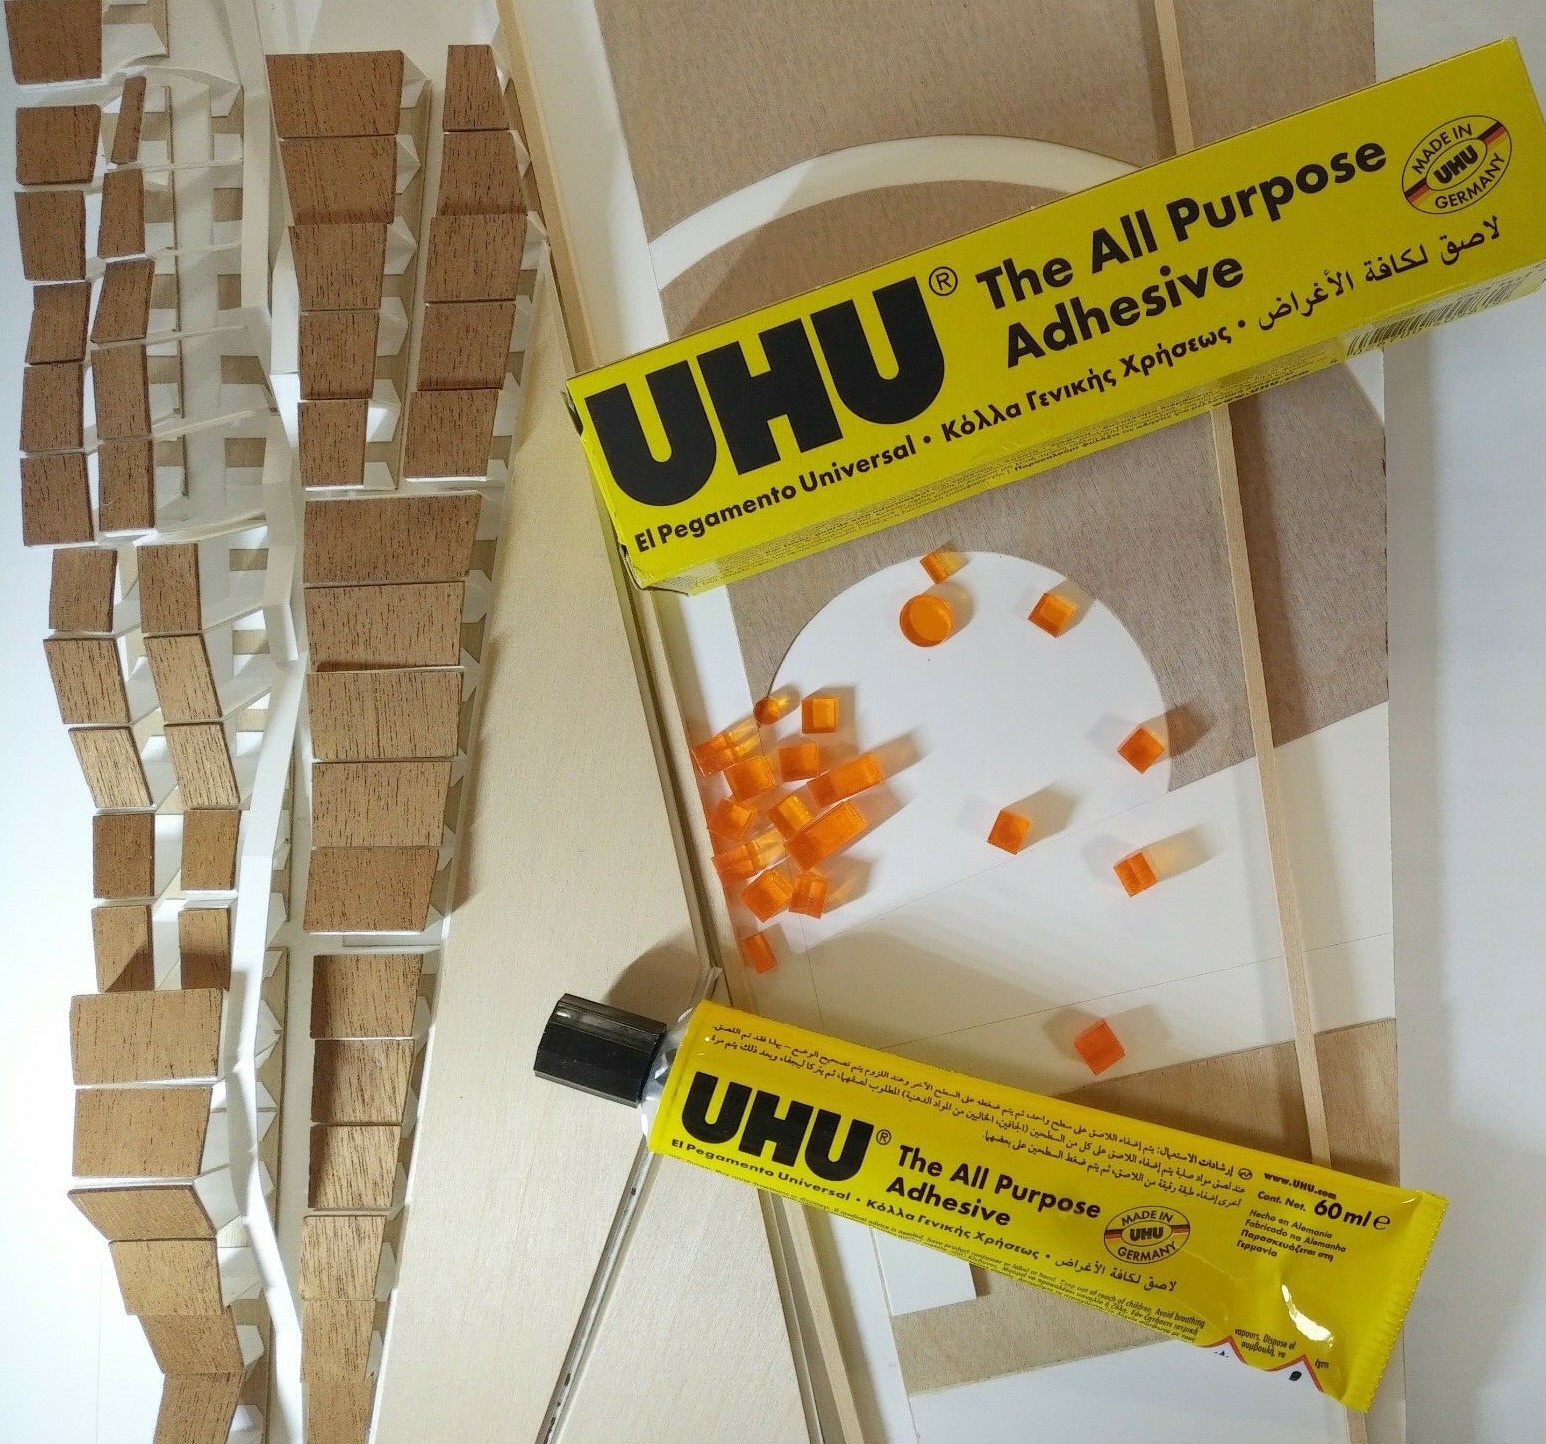
Are you dealing with the problem of your glued items not sticking onto a surface very firmly? Or do you ever think of how can your glued objects stick longer on any surface? Do you have any idea what is the right glueing technique that can help you to paste on any surface?
For most everyday situations and simple DIY projects, by means of the right glueing technique can help you to achieve top results. The right glueing technique is very simple and only requires a few easy steps. In this article, we will share these few steps of right glueing technique with you.
STEP 1: PREPARATION
A well-ventilated space is strongly suggested to be used during the process of glueing. It offers adequate area to handle all the necessary materials. You may also want to examine on the parts to be joined and assess the fit. Remove any fragments or parts that have been sealed.
You are recommended to put on gloves to protect your skin if you have sensitive skin. A suitable adhesive is highly suggested to be used for glueing and UHU All Purpose Adhesive is certainly a great choice.
STEP 2: CLEAN THE SURFACE
The basic of glueing technique is that all adhesives must go onto a surface free of dust, grease or oil. Hence, any dirt, rust, paint residues, grease and other foreign bodies should be cleaned and cleared away from the surface.
In order to make gluey substances stick to another, it is important to keep the surface dry too. A roughen smooth surface is more suitable to be applied with adhesive too. Therefore, it is advised to rough up the surface by using fine-grit sandpaper. After you have roughened it, check to ensure there are no loose fibres or dust left on the surface.
STEP 3: APPLY THE ADHESIVE
Before applying the adhesive to any surface, always ensure the prepared surfaces are not touched to avoid the transfer of oil from your skin to the surfaces. Before you begin to apply the adhesive onto the surfaces, you may also want to go through on the product instructions for any details on application and drying time. After that, adhesive may be applied on evenly in a thin layer.
STEP 4: JOIN THE PARTS
Place the pieces in appropriate and suitable positions, then press together firmly under light pressure to ensure a tight seal without leaving any gap behind. You should always keep in mind not to press the joint parts too hard until the glue is forced to squeeze out from between the parts.
Stop any work and leave the gluey parts undisturbed as the chemical reactions are acting in to hold the glued materials together in place. You are recommended only to continue the work after the adhesive dries and hardens and thus can hold the glued materials together strongly.
It is crucial to know and apply the right glueing technique to improve our sticking experiences and achieving the optimum glueing results. UHU All Purpose Adhesive is suitable for universal applications at home or workplaces. They are available in different volumes and you can now get yours at https://store.lionfile.com/collections/glue/products/uhu-all-purpose-glue.

